Back to Earlswood for another of Dave's amazing games (some Dave who brought us Dead Man's Hand in the last Blog post). This one is the excellent All Quiet on the Martian Front. Dave bought heavily into this game when it was just a Kickstarter, and was very disappointed when the company making it when bust before they had a chance to release all the figures. Luckily it looks like another company might have pickled up the rights and plan to revive the game.
Dave has made his AQotMF terrain with the idea that it would look dramatic. this includes massive explosions, melted tanks, destroyed tripods, fleeing civilians and other general signs of war. This means that as the battle progresses we accumulate more smoke and chaos, which not only makes the game lots of fun it also means in photographed like a dream.
On the subject of photocopy, I had to use my son's camera for this game, and I am not great with it, so please forgive any photos that are a little less than perfect.
This game features a large force of US tanks, supported by infantry and artillery. The humans must protect a vital oil production plant from the martians. All the martians have to do is destroy the refinery and the oil reserve, however this is protected by a trench line and a very high anti-tripod electric fence.
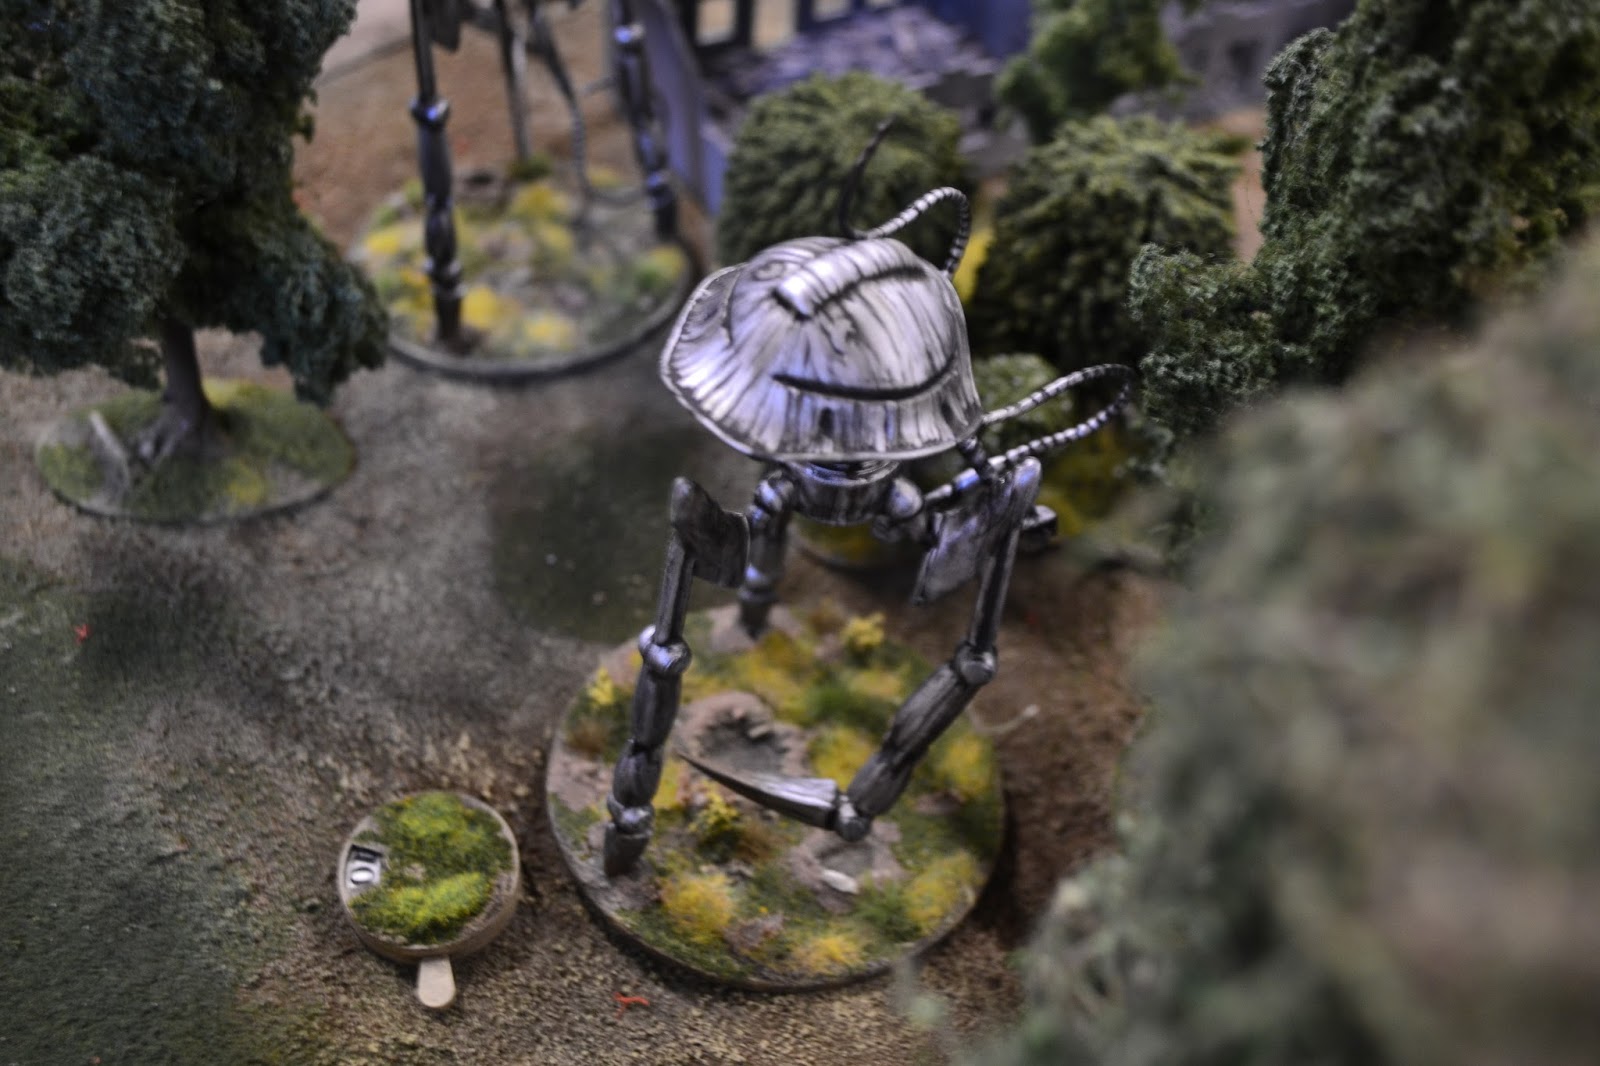
The first the Americans know of the attack is when the Martian Scout Tripods appear on the horizon, stalking their way through the trees!
"They're coming! The Martians are coming!" Panic stricken civilians flee before the advancing war machines, trying to reach the safety of the American defences
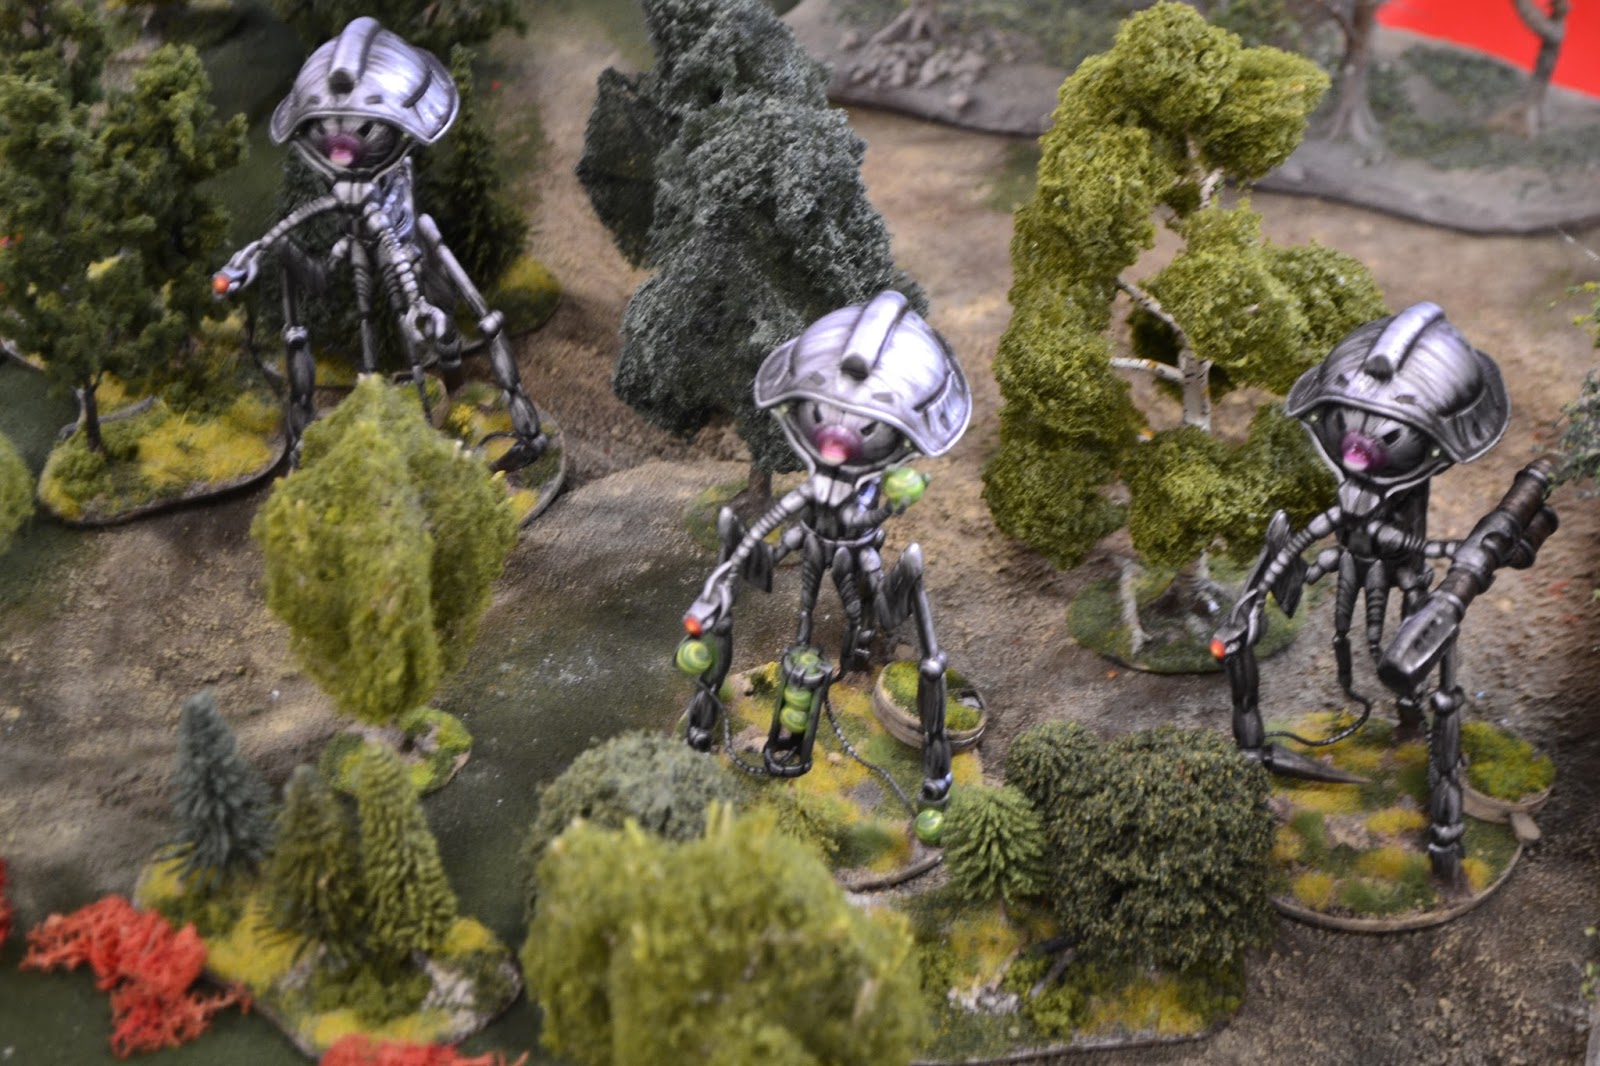
"Ohh Laaaaa!" The scouts are followed by larger, and more deadly war machines.
The American soldiers prepare to hold the line. the oil reserve is vital to their war effort. The Martians must be stopped!
The trench line is protected by an anti-tripod fence, any war machine touching it will be in for a nasty shock.
The US troops have access to the big guns- Tom, Dick And Harry! When they fire as a battery they are more than capable to bringing down a Martian.
The desperate Americans have even deployed a Clamp Tank- the brave crew risk almost certain destruction as they try to slow down the advancing Tripods.
The US tanks advance past the wire to bring the battle to the advancing Tripods
The scouts break through the cover of the trees. The Red Weed from Mars can be seen spreading through the forest like a vile plague.
The larger Tripods move in to attack the US tanks.
A Heat Ray hits one of the armoured cars, but lucky for the crew does not inflict major damage.
Now its Tom, Dick and Harry's go. The American big guns open up- badly damaging one of the tripods
The armoured cars fire their 6dpr cannons at the damaged tripod, and finally bring crashing down.
The armoured cars dart back out of range of the Tripods.
The Martian heat ray reduces one of the M1 battle tanks to molten slag
The Clamp Tank dashes forwards, its engines staining at it tries to engage with the Tripods legs- it misses its target and the crew desperately try to reverse for a second attack.
The surviving M1 tanks take down one of the scout tripods.
Meanwhile Tom Dick and Harry open up on the larger tripod- causing it to explode. Unfortunately the resulting explosion was powerful enough to destroy the Clamp Tank
Things are looking up for the Americans as tripod after tripod are brought down by their disciplined fire. The Martians, undeterred by their losses continue to advance, their heat rays sweeping out in front of them.
An armoured car is reduced to a brunt out shell and the other cars in the squadron have seen enough and turn to flee the advancing martians. The infantry in the trenches prepare to fight the Martians in close quarters.
The Martians turn their heat rays to to the Electric fence, destroying it with apparent ease.
The tripods continue their unrelenting advance, despite the best efforts of the American infantry, whose grenadiers fail to inflict significant damage to the last scout Tripod.
The scout Tripod sweeps the infantry aside and crosses the last line of the Americans defences. It's heat ray cuts through the thin skin of the Oil tanks like a hot knife through butter, and in second the entire oil refinery is ablaze.
The Americans inflicted a great deal of damage to the Martians, but ultimately failed to secure the oil refinery. The loss of half a dozen Tripods is a trifle to the Martians when compared to the effect of losing such a factor that was so significant to the Americans defence strategy.
 The talented and modest Dave with his brother Dean (sporting a lovely new wig).


